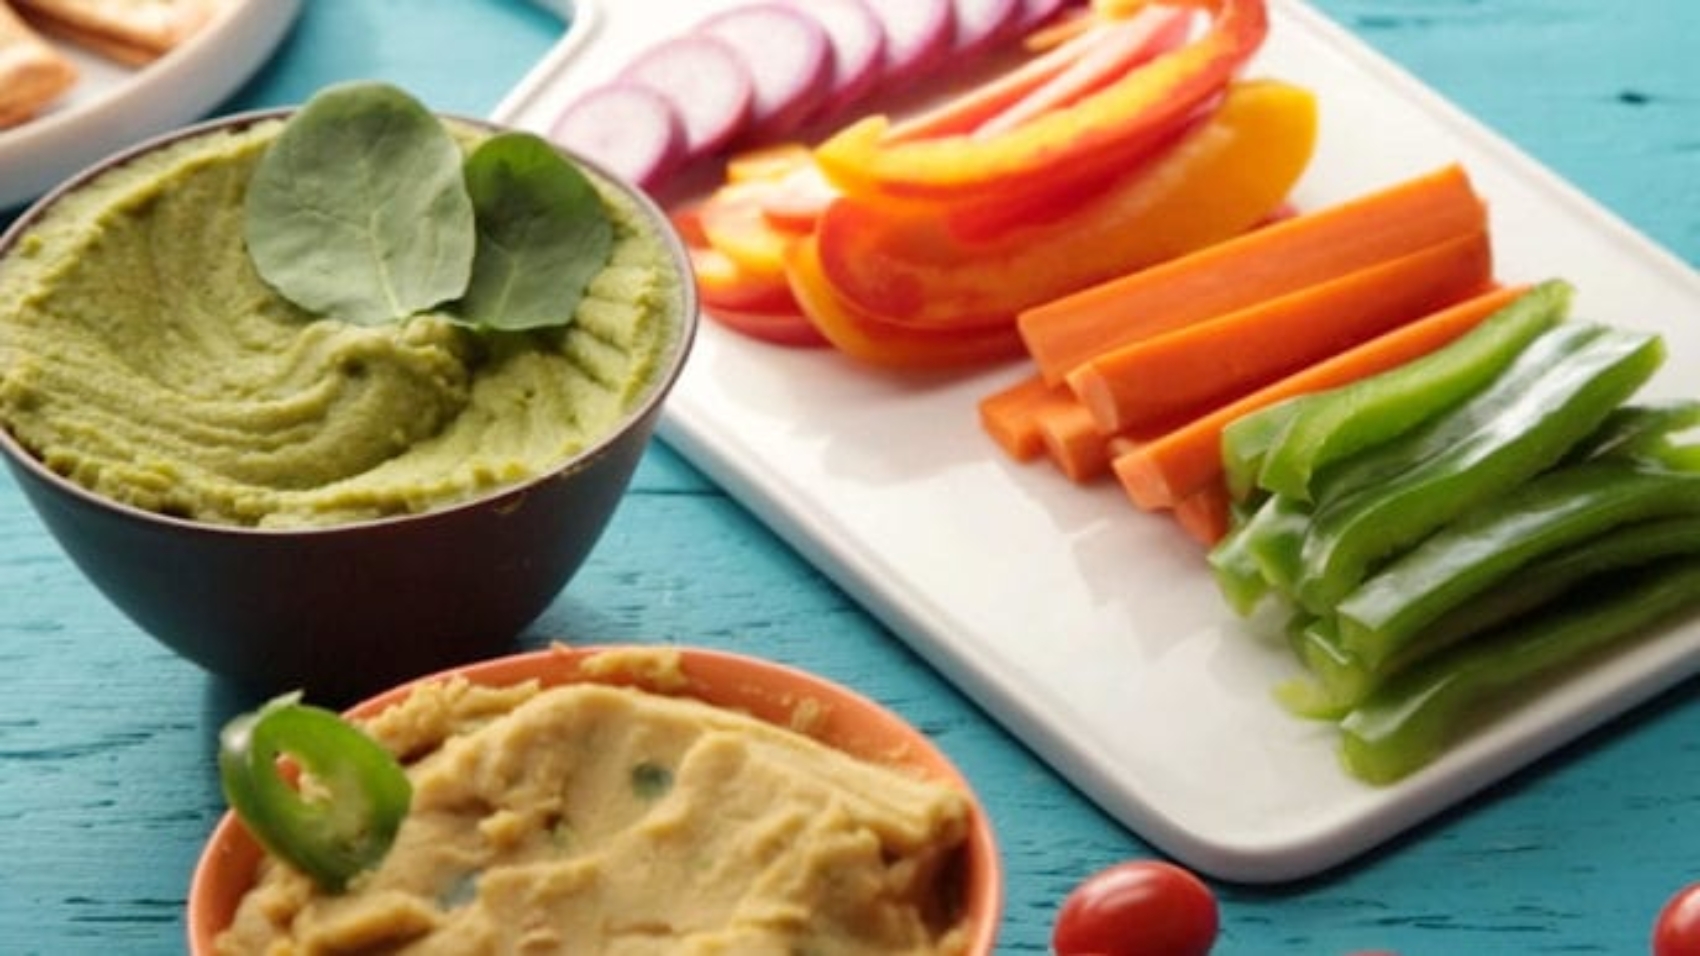
This is a great basic chickpea hummus recipe to include in your repertoire. With no added oil, or even tahini, it’s very low in fat and big on flavor. Enjoy the it in its classic form, or jazz it up with ingredients like toasted sesame seeds, olives, or eggplant.
Virtually nonfat, this tasty, oil-free hummus recipe is the healthy antidote to your hummus cravings. You can find a store-bought variation of this no-cook recipe in almost any grocery store, but 95 percent of them are made with added olive oil and tahini (sesame paste), which pushes up the fat content. Your best bet is to take three minutes to whip up a batch of homemade, oil-free hummus on Sunday that will last you through the week. Enjoy it with crudites, on toast, in wraps, bowls, and more.
INGREDIENTS
2 cans chickpeas, rinsed and drained
3 cloves garlic
Juice of 1 lemon
2 teaspoons ground cumin
2 teaspoons Bragg Liquid Aminos
¼ cup water or vegetable broth
INSTRUCTIONS
Blend all ingredients into a thick paste.
You can also customize this recipe by adding one or more of the following: 2 tablespoons toasted sesame seeds; 1 fresh jalapeño, seeded and chopped; 1 roasted and chopped red bell pepper; 1 cup Kalamata olives; 1 bunch fresh mint; 1 cup fresh spinach; 1 cup cooked eggplant
Everyone can exercise and exercise is vital to maintain good health and fitness, especially as you age. You do not need expensive medications or medications to stay healthy. All you need are the right exercises to perform at home for best results.
Warm-up before workouts: A great way to warm up is a simple light jog for about 15 minutes. Anything too intense will make you tired out quickly during exercise which defeats the purpose of doing morning exercises.
Here are 10 simple exercises that you can easily do at home without any equipment:
1) Squats
Squats are among the simplest exercises that offer many advantages when done properly. To start, stand with feet together and knees slightly bent while pushing your hips back and lowering your torso until it almost makes a right angle. Pause briefly before returning to the initial position by pushing harder through your heels while bending your knees in order to get up quickly, returning to the initial position.
2) Push-ups
Push-ups are one of the most basic exercises you should perform at home. They strengthen your muscles and improve your strength by reducing fat from various parts of your body. Lie on a surface, face down with palms flat on the floor beside you and feet together. Now lift your body up as you also push into the ground with your hands so that you’re pressing yourself upward. Be sure to keep a straight line from shoulders to ankles throughout this exercise while keeping abs tight and chin parallel to the floor above to avoid bending it or dropping it too low towards the floor causing injury to your neck. At this stage, lower your body until your chest almost hits the floor.
3) Crunches
Crunches are one of the simplest exercises that will help you tone your abs and sculpt a flat stomach while also working your hip muscles. Lie on your back with hands behind your head, knees bent at 90 degrees, feet together on a flat surface. This time, lift your upper body off the floor while leaving legs in place and elbows pointing to toes above. When lowering yourself, be sure to keep shoulders lifted off the floor for maximum benefits. At this stage, return to the starting position by bending your arms while exhaling without touching your lower back on the ground.
4) Lunges
Lunges help strengthen and tone your whole body.
Stand with feet together and legs apart while lowering your torso for a right diagonal angle. Pause briefly before returning to the initial position by pushing back harder through your hips while bending your left knee in order to get up quickly, returning to the initial position. At this stage, return to the starting position by stepping forward with the right foot followed by the left one while exhaling.
Triceps dips on the chair. This is a great exercise for toning arms at home. It will really amp up toned biceps in conjunction with its counterparts so that you can have a balanced body. Sit on the edge of a chair with your hands placed just behind you.
6) Pushups
Pushups are one of the most basic exercises that will help you tone your abs and sculpt a flat stomach while also working your hip muscles. Lie on your back with hands behind your head, knees bent at 90 degrees, feet together on a flat surface. This time, lift your upper body off the floor while leaving legs in place and elbows pointing to toes above. When lowering yourself, be sure to keep shoulders lifted off the floor for maximum benefits. At this stage, return to the starting position by bending arms while exhaling without touching your lower back on the ground.
7) Plank
Plank is considered as one of the best exercises for toning muscles as it strengthens your core as well as tones your arms, shoulders, and stomach.
Lie on your front with forearms placed flat on the floor from shoulder-width apart while being extended in a straight line from your shoulders to ankles. Tighten abs and buttocks as you lift your torso up and hold it there without dropping down for 30 seconds or more. At this stage, return to the starting position by lowering yourself slowly and gently to the ground while exhaling.
8) Burpees
Burpees are great for toning your arms, stomach, and legs as well as improving flexibility. They also increase metabolism and help you lose weight fast by increasing your heart rate. Stand with feet shoulder-width apart from each other while simultaneously raising hands overhead before squatting down into a half-squat position. In one motion straighten your legs and jump up as high as possible before bringing your feet back to the initial position. At this stage, return to the starting position by lowering yourself slowly and gently to the ground while exhaling.
9) Bicep Curls
Bicep curls will tone your arms, improve upper body strength and sculpt a nice
Stand with knees bent at 90 degrees, feet shoulder-width apart while holding dumbbells in each hand with palm facing out. This time, lift weights to your shoulders while exhaling until your upper arm is parallel to the floor. Pause briefly before returning to the initial position by lowering weights slowly and gently while inhaling.
Bent over row-Shoulder and back strength is developed by the bent-over rows exercise. Stand with knees slightly bent and feet hip-width apart from each other while extending dumbbells in front of your thighs with palms facing you. Bend forward slowly at the hips until the upper body forms a 45-degree angle, keeping abs tight as you gaze straight down. This time, pull weights to shoulder height as you exhale until arms are extended fully but without locking elbows as they bend slightly at the end. Pause briefly before returning to the initial position by releasing weights slowly and gently while inhaling.
Side plank will help you tone your side waist and lower back
Lie on your side with legs straight and feet stacked while the upper body rests on the forearm placed horizontally in front of you. Tighten abs and hips as you lift them up and hold for 30 seconds or more. At this stage, return to the starting position by slowly lowering yourself without touching the ground. Hold for 5 seconds before repeating. This time, lift your top leg as high as possible without moving it from its initial position. Repeat 10 times on each side alternately.
Cool down after workouts: A great way to cool down is by stretching for about 5 minutes. This helps release any tension built up in your muscles during exercise. Also, this gives you an opportunity to focus on the parts of the body you used while exercising which will help you remember what muscles groups you worked out that day.
For a more advanced workout that will really get massive results for you you can try one of the following routines
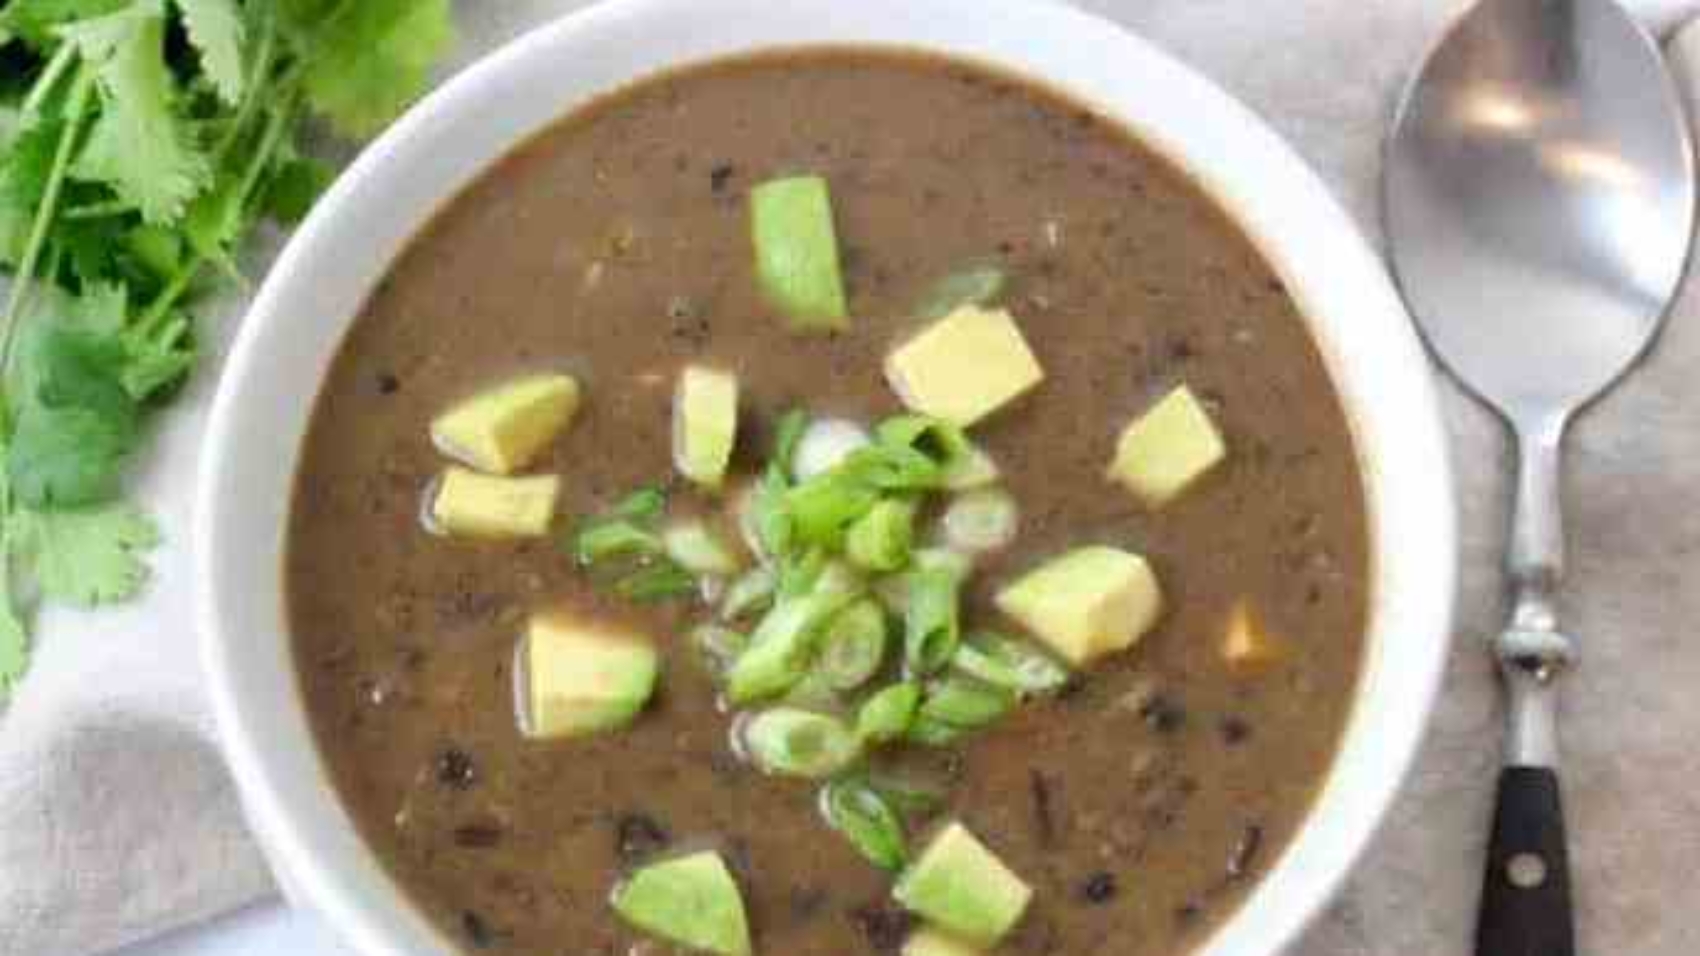
Showcase your farmers market finds in this colorful Zucchini, Corn, and Black Bean Soup, which features a luscious almond milk–based broth and mouthwatering medley of unexpected flavors
1 15-oz. can no-salt-added black beans, rinsed and drained
1 medium zucchini, quartered lengthwise and cut into ¼-inch slices
1 teaspoon snipped fresh thyme
2 tablespoons sherry vinegar
Sea salt and freshly ground black pepper, to taste
INSTRUCTIONS
In a 4-qt. Dutch oven combine almond milk, potatoes, onion, celery, and garlic. Bring to boiling; reduce heat. Simmer 10 to 12 minutes or until potatoes are tender, stirring occasionally.
Stir in corn, beans, zucchini, and thyme. Return to boiling; reduce heat. Simmer 10 minutes or until zucchini is tender. Stir in vinegar and season with salt and pepper.
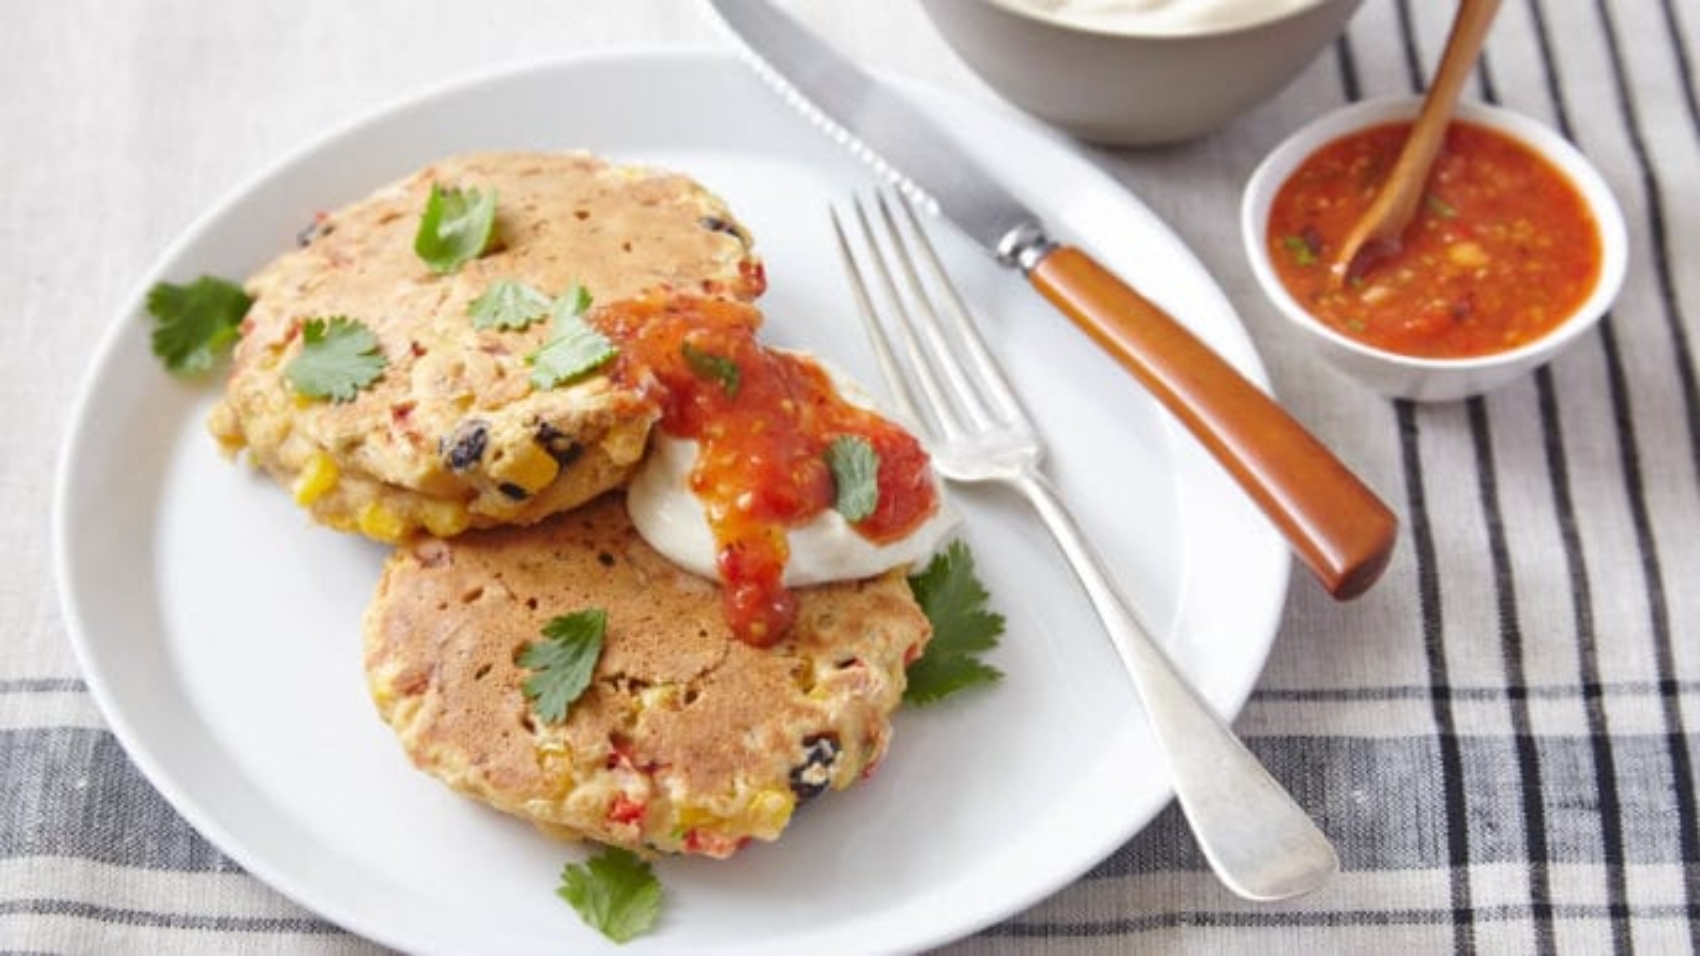
My mom made a version of these savory pancakes for dinner when I was a kid. My updated version is healthier, but no less delicious—and now I enjoy them for breakfast, too! For best results, don’t try to flip the pancakes until they are thoroughly crisped on the underside; only then will they release from the pan easily.
INGREDIENTS
1½ cups whole wheat pastry flour
½ cup cornmeal
1 tablespoon aluminum-free baking powder
½ teaspoon sea salt
1½ cups unsweetened, unflavored plant milk
1⁄4 cup unsweetened applesauce
1 medium red bell pepper, seeded and finely diced
1 (10-ounce) package frozen corn kernels, thawed
1 cup cooked or canned black beans, rinsed and drained
6 green onions, white and light green parts thinly sliced
Tomato Salsa (or use store-bought), for serving
Sour “Cream” for serving
chopped fresh cilantro, for serving
INSTRUCTIONS
Preheat the oven to 200°F.
In a large bowl, whisk together the flour, cornmeal, baking powder, and salt until well combined. Make a well in the center of the flour mixture and add the plant milk, applesauce, bell pepper, corn, black beans, and green onions. Gently fold the ingredients together just until incorporated. Do not overmix.
Heat a griddle or large nonstick pan over medium heat until a few droplets of water dropped in the pan jump and sizzle.
Spoon ½ cup batter for each pancake onto the pan, making sure they don’t touch each other, until no more will fit. Cook until the undersides are crisp and the pancake can be flipped easily without falling apart, about 4 minutes. Using a spatula, turn the pancakes over and cook until the other side is lightly browned and crisp, about 4 minutes. Transfer the pancakes to a heatproof platter and place in the oven to keep warm. Repeat with the remaining batter.
Serve the pancakes topped with salsa, sour “cream,” and chopped cilantro.
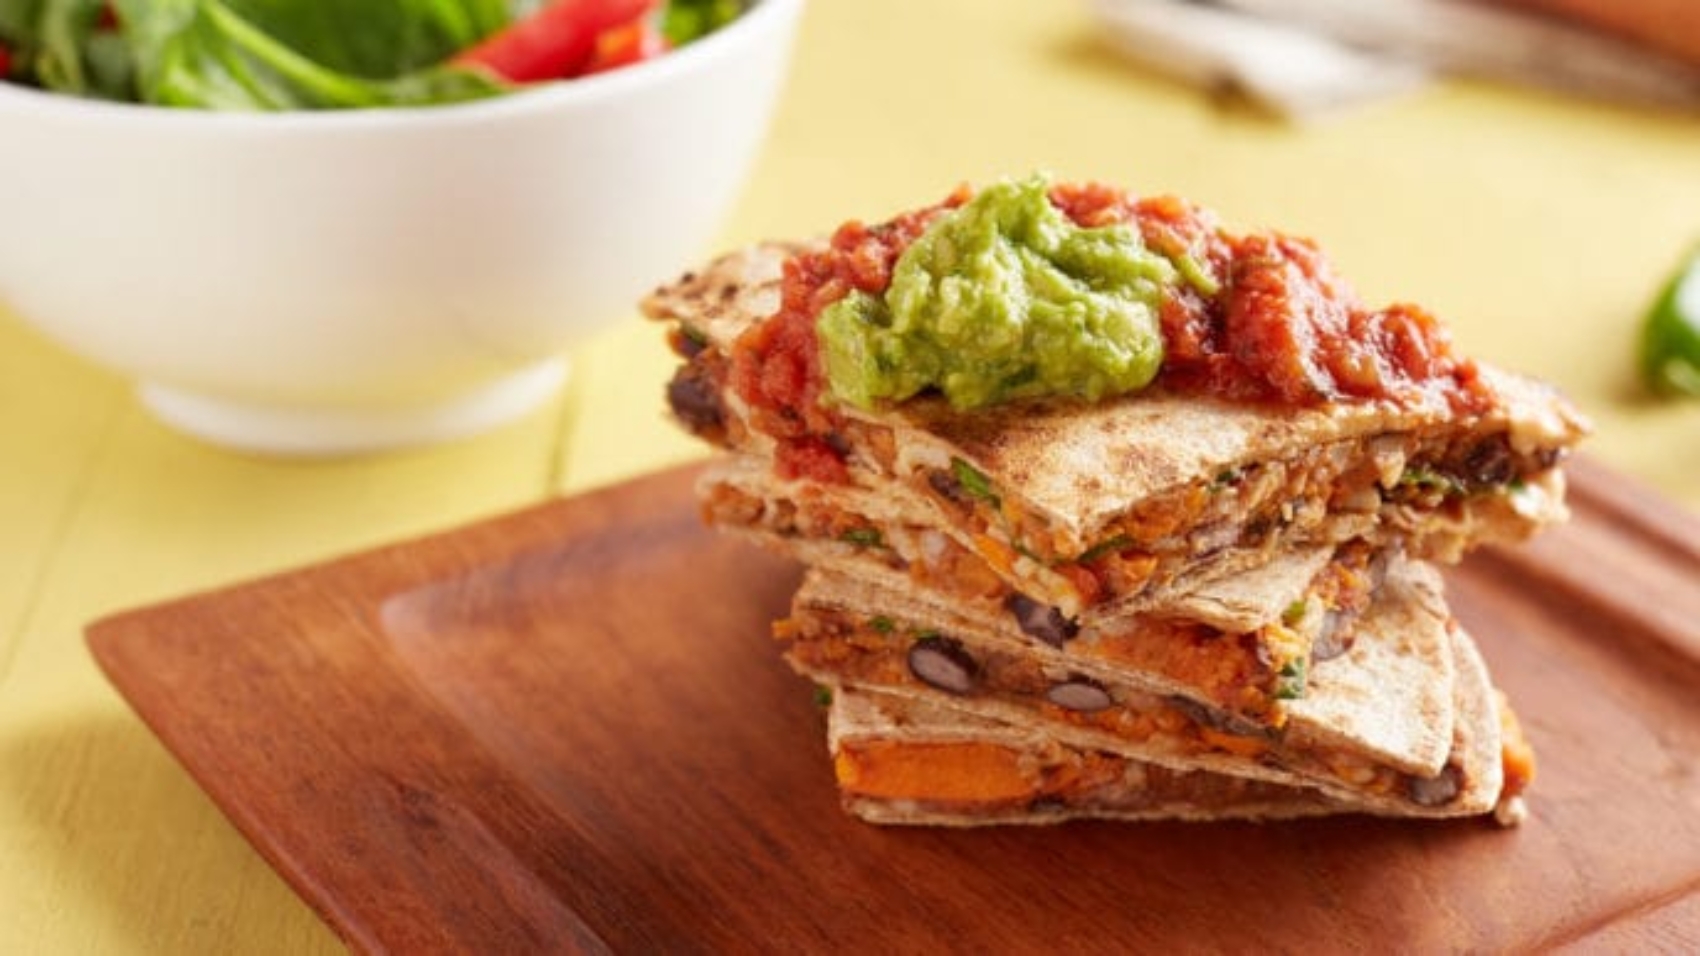
These quesadillas, from Plant-Strong: Discover the World’s Healthiest Diet, are a regular with the Engine 2 plant-strong Hall family. They are simple to make and very satisfying.
INGREDIENTS
1 large sweet potato
1 cup brown rice, cooked
8 ounces vegetarian, no added oil, re-fried beans
1 cup of salsa
1 cup fresh spinach
8 ounces black beans, drained and rinsed
¼ teaspoon onion powder
¼ teaspoon chili powder
¼ teaspoon cumin
1 jalapeño pepper, diced (optional and HOT)
6-8 whole-wheat tortillas
INSTRUCTIONS
Preheat oven to 375º F. Prepare a sheet pan with parchment paper.
An hour before you plan to eat, peel and quarter the sweet potatoes.
Bake sweet potatoes in the oven for 45 minutes to one hour, until soft.
In the meantime, prepare rice in a rice cooker or on stove top as directed.
Remove sweet potatoes from oven and toss into a mixing bowl. Mash sweet potatoes with the salsa, rice and fresh spinach.
Place sweet potato mash in a sauce pan and mix in black beans and refried beans, heating mixture thoroughly over medium heat. Add onion powder, chili powder and cumin to taste and stir.
Place a tortilla in a frying pan on medium heat, and slather the side facing up with sweet potato and bean mixture. Add jalapeños if desired.
Place another whole wheat tortilla on top. Press down on top tortilla with spatula with pan on medium heat for about 3 minutes. Flip with spatula and cook for another three minutes.
Voila! Cut into desired number of sections. Serve topped with salsa.
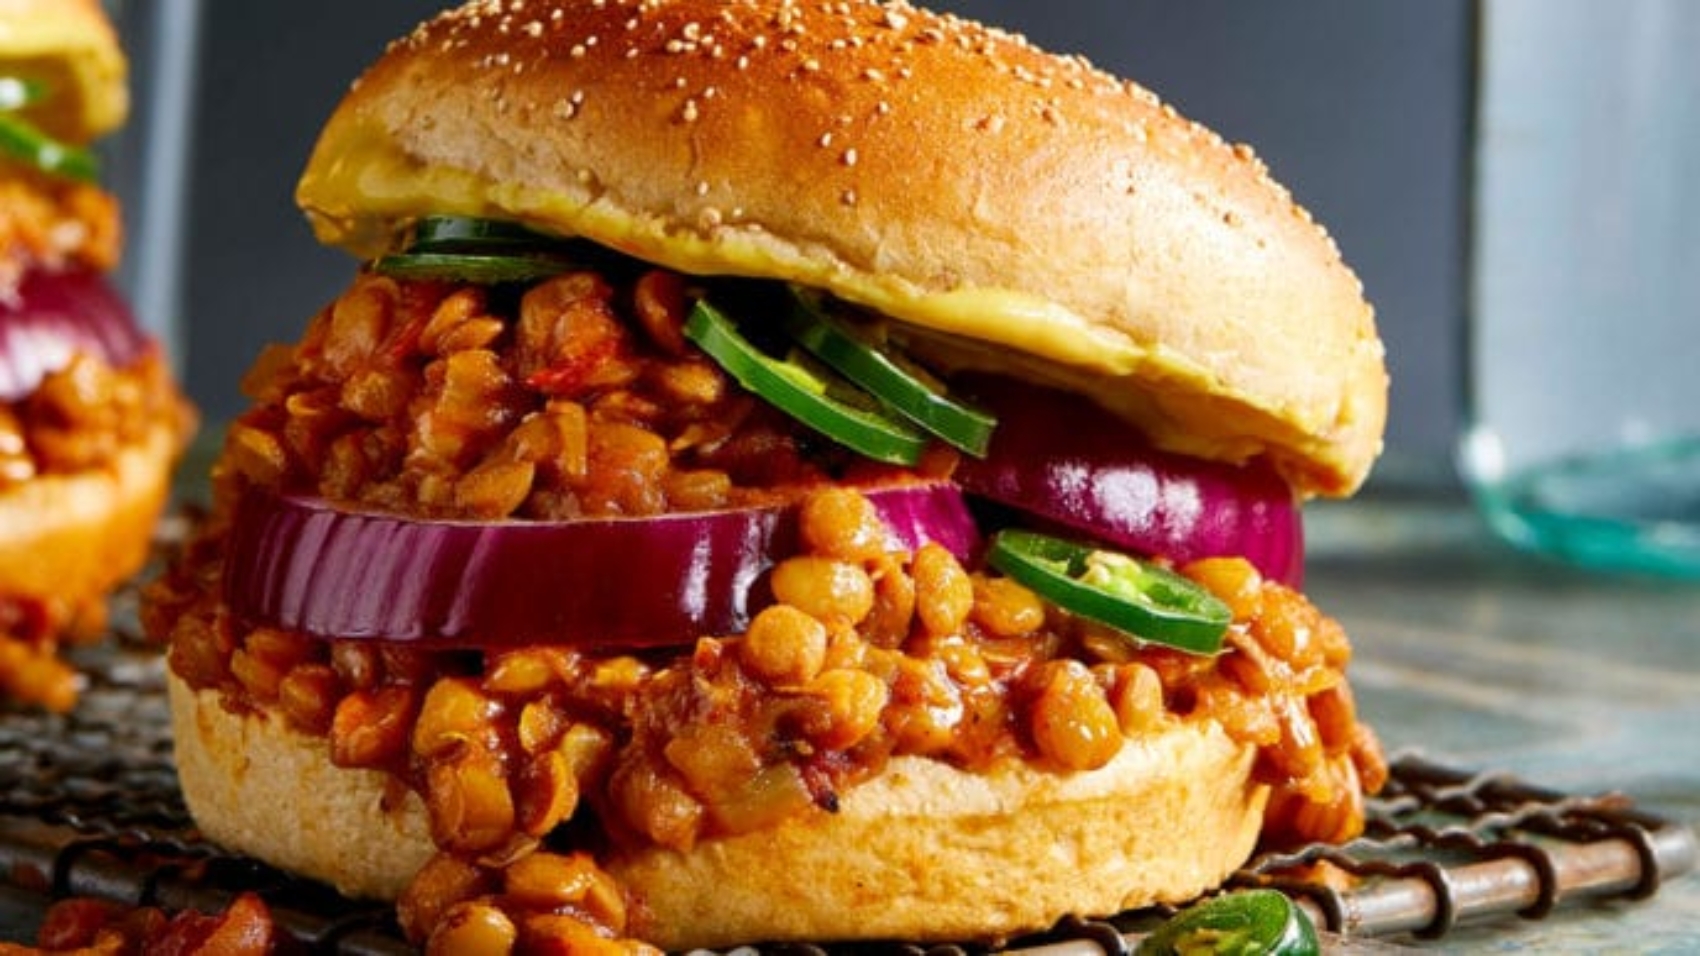
This is a quick and easy meal that also reheats well for lunch the next day or two. Serve this stuffed into a whole-grain bun and eat with your hands, or ladle it over the buns (open-face style) and eat with a fork. I usually serve steamed kale with this dish and fresh corn, when in season.
INGREDIENTS
3 ⅓ cups water or low-sodium vegetable stock
1 onion, chopped
1 red bell pepper, chopped
1 tablespoon chili powder
1 ½ cups dried brown lentils
1 15-ounce can diced fire roasted tomatoes
2 tablespoons soy sauce
2 tablespoons Dijon mustard
2 tablespoons brown sugar
1 teaspoon rice vinegar
1 teaspoon vegetarian Worcestershire sauce
salt to taste
INSTRUCTIONS
Place 1 cup of the water or stock in a large pot.
Add the onions and bell pepper and cook, stirring occasionally until onions soften slightly, about 5 minutes.
Add the chili powder and mix in well. Add the remaining liquid, lentils, tomatoes, and the rest of the seasonings. Mix well, bring to a boil, reduce heat, cover and cook over low heat for one hour, stirring occasionally.
Serve on whole-wheat buns, or fresh baked bread, with the trimmings of your choice.
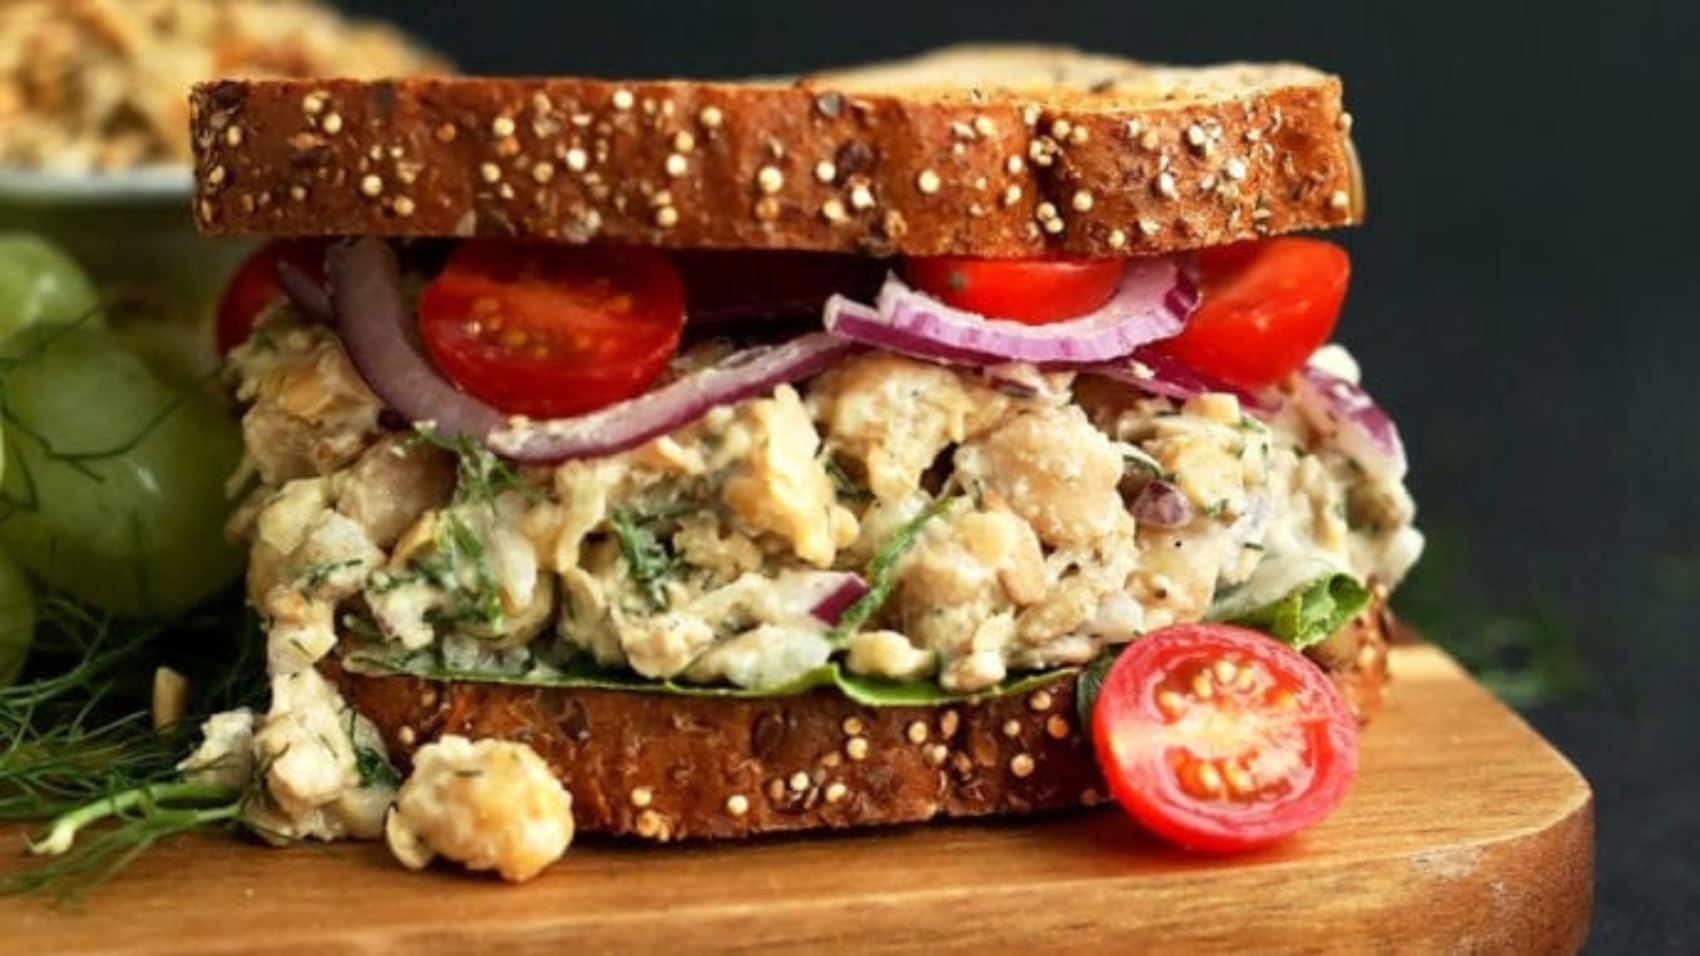
In this vegan version of a tuna salad sandwich, the tuna salad gets extra tang and flavor from pickles and capers. Serve between two slices of your favorite hearty bread for a simple yet satisfying meal.
Note: Mixture will keep covered in refrigerator for 4-5 days, making it great for quick, weekday lunches.
Place the chickpeas in a mixing bowl and mash with a fork, leaving only a few beans whole.
Add tahini, mustard, maple syrup, red onion, celery, pickle, capers, salt and pepper, and sunflower seeds (if using) to mixing bowl. Mix to incorporate. Taste and adjust seasonings as needed.
Toast bread if desired, and prepare any other desired sandwich toppings (such as lettuce, tomato, and onion).
Scoop a healthy amount of the chickpea mixture (about ½ cup) onto one slice of bread, add desired toppings and top with second slice of bread. Repeat for additional sandwiches.
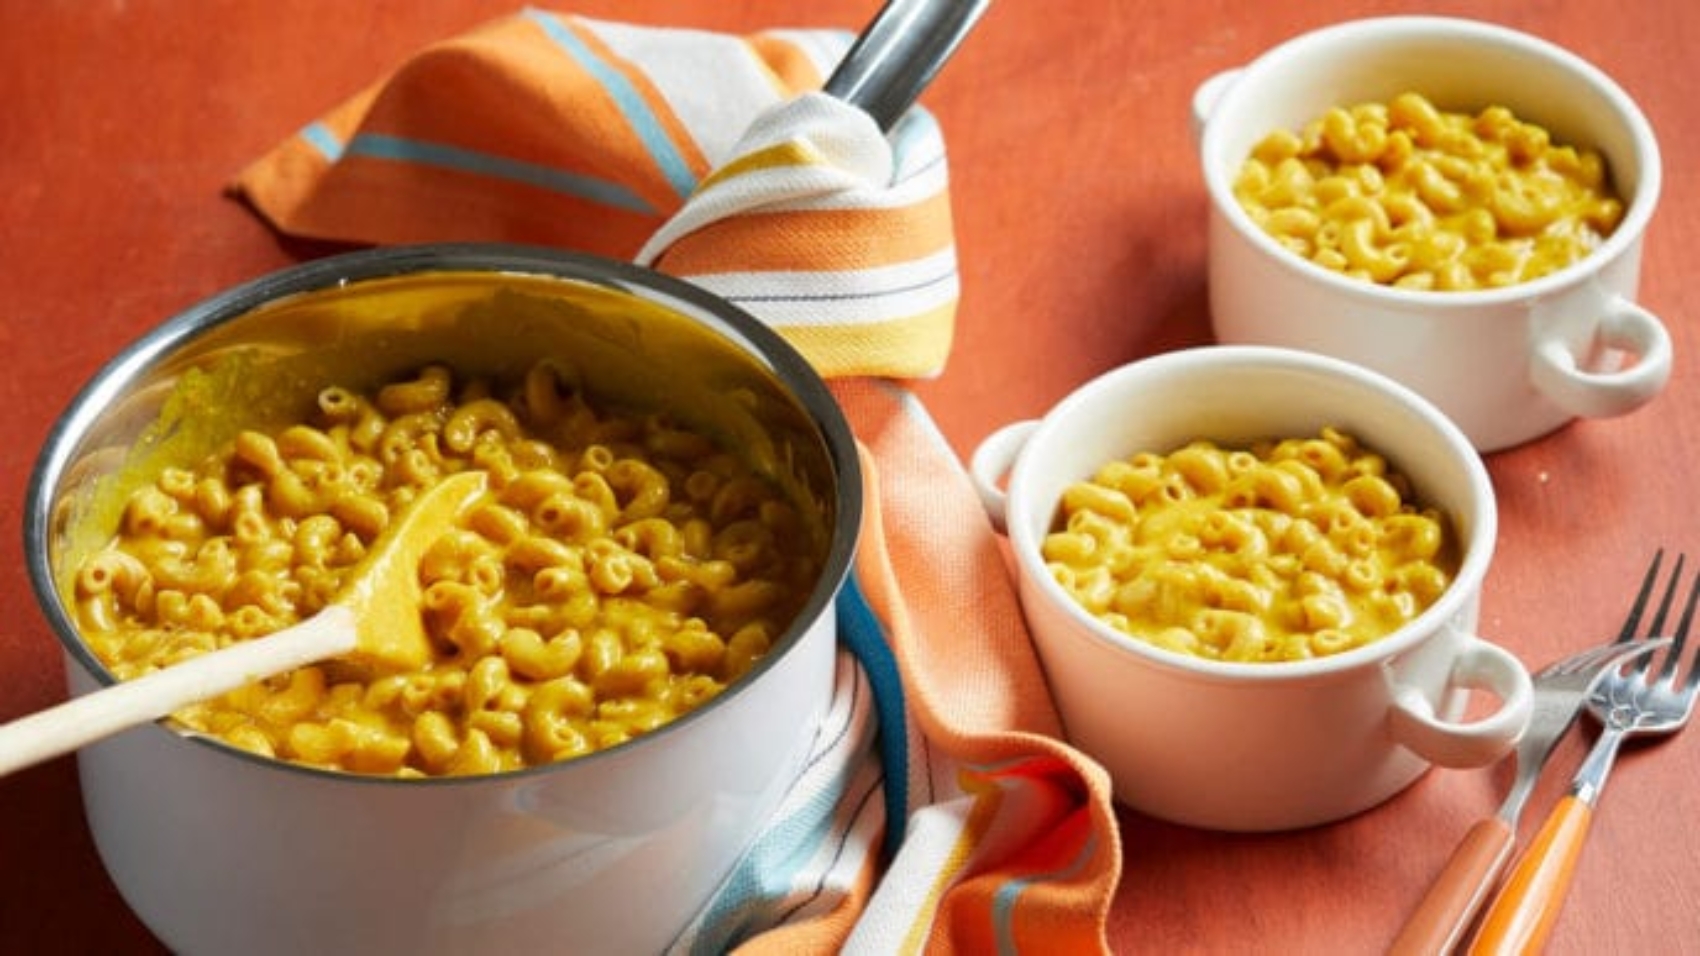
In this comforting vegan mac and cheese, a smooth purée of vegetables, soaked cashews, nutritional yeast (for cheesy flavor), and turmeric (for cheesy color) coats the pasta in a golden, creamy, dairy-free sauce. Any leftover sauce will keep in the refrigerator for up to a week. The sauce can also be made ahead and frozen for fast weeknight meals—simply thaw and re-blend before using. Craving a crunchy topping? Simply spread the prepared mac and cheese in a casserole dish, sprinkle breadcrumbs over the, and broil in the oven until brown and crispy.
INGREDIENTS
1 large russet potato, peeled and cut into ½-inch cubes (1½ cups)
Combine the potato, carrots, onion, turmeric, garlic, and 2 cups water in a medium saucepan. Bring to a boil over high heat. Reduce heat to low and simmer, covered, for 20 minutes.
Place the cashews in a small bowl and add enough water to cover them. Soak for at least 10 minutes; drain.
Meanwhile, cook the pasta in a large saucepan according to package directions; drain. Rinse with cool water; drain again. Return to the saucepan.
Transfer the potato mixture to a blender. Add the cashews, nutritional yeast, salt, and ½ cup water. Blend for 2 minutes or until smooth and creamy.
Top the pasta with the desired amount of sauce, and toss to coat. Season with pepper.
This luscious vegan noodle soup tastes like comfort in a bowl—and an awful lot like chicken noodle soup! The chicken-soup flavor comes from a combination of dried herbs (marjoram, sage, and thyme) also found in poultry seasoning, the herb blend often used in Thanksgiving stuffing. Because there’s no real chicken, the soup cooks quickly and is ready to enjoy after just 30 minutes on the stove. To give it an appetizing golden hue, add a pinch of turmeric along with the herbs.
INGREDIENTS
1 cup chopped onion
1 cup chopped celery
1 cup chopped carrots
6 cups vegetable stock
1 teaspoon low-sodium tamari or soy sauce
½ teaspoon dried marjoram, crushed
½ teaspoon dried sage, crushed
¼ teaspoon dried thyme, crushed
Freshly ground black pepper
3 cups dried brown rice fettuccine noodles or whole-wheat pasta, broken
INSTRUCTIONS
Combine the onion, celery, carrots, stock, tamari, marjoram, sage, thyme, and pepper in a 4-quart Dutch oven. Bring to a boil over high heat. Reduce heat to medium-low; cover and simmer for 20 minutes.
Stir in the noodles; return to a boil. Cook for 10 minutes more or until noodles are tender.
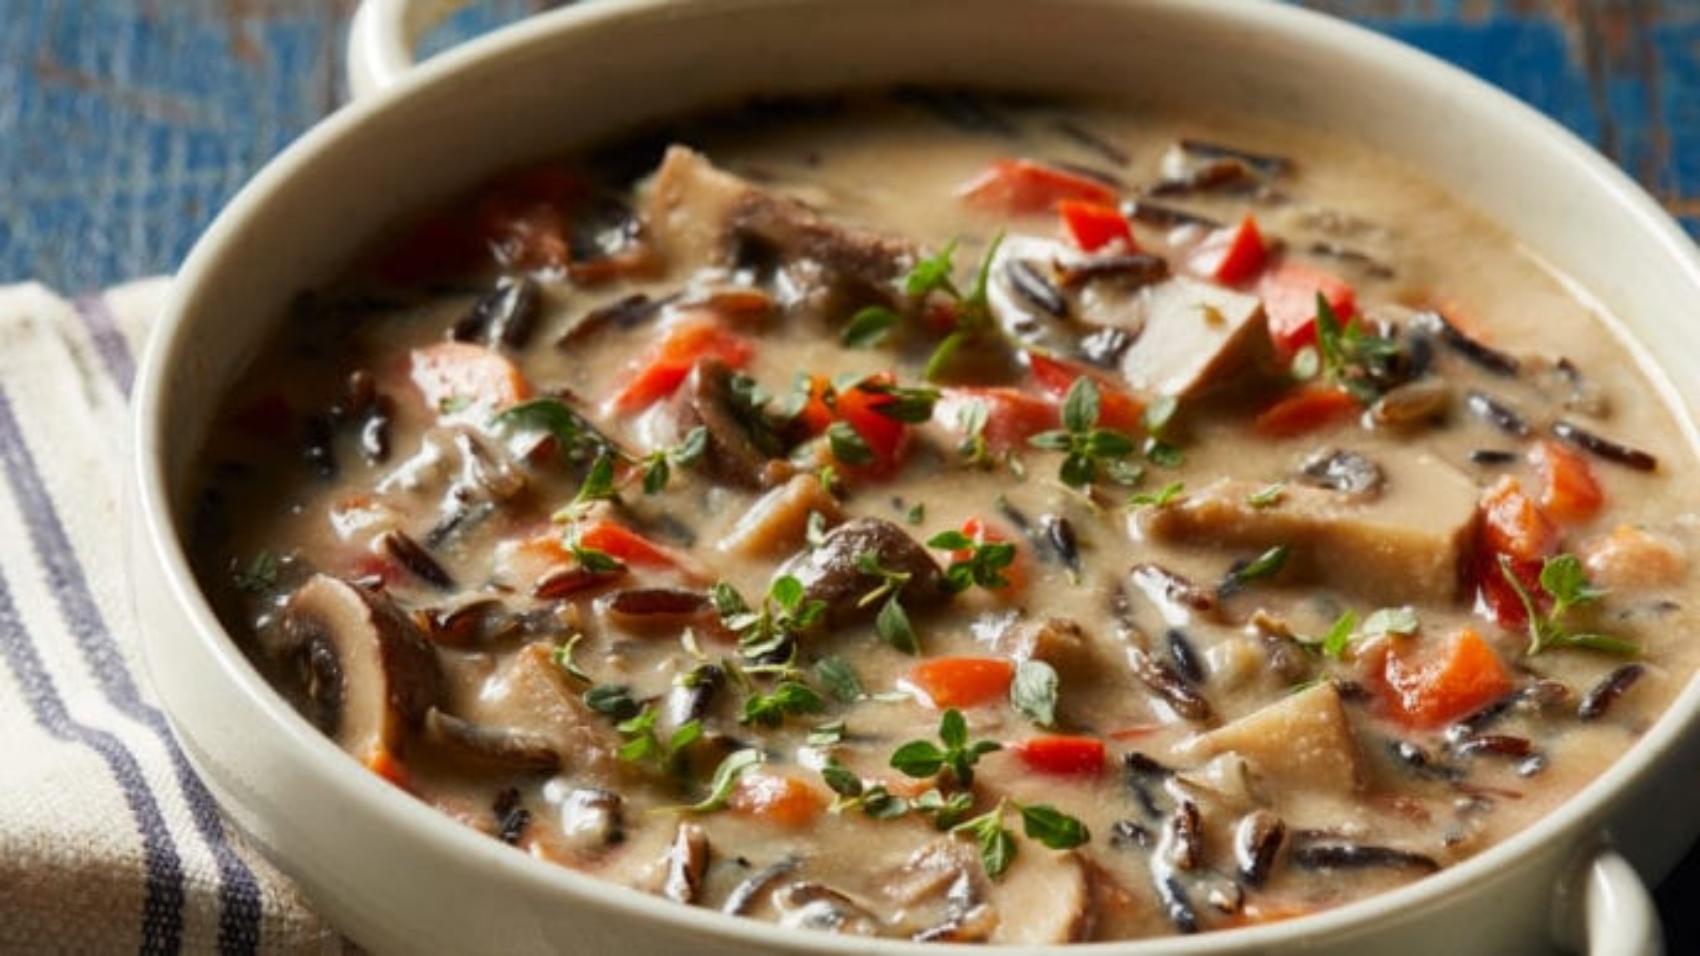
This chowder-style soup showcases the hearty, nutty goodness of wild rice. The dark brown grains are gluten-free, rich in nutrients, and native to North America, where they’re harvested in early fall. Cooking the rice in the soup broth helps meld the flavors in the recipe, though it means you may have to thin the soup with more broth before thickening it with the flours, since the rice may absorb a lot of the liquid. Serve with an arugula, watercress, or spinach salad.
INGREDIENTS
4 cups vegetable stock
1 (8-ounce) package button mushrooms, trimmed and quartered
¾ cup uncooked wild rice, rinsed and drained
½ cup thinly sliced leek (white part only)
4 cloves garlic, minced
1 cup chopped red bell pepper
½ cup chopped carrot
¼ teaspoon sea salt
¼ cup almond flour
¼ cup chickpea flour
1 tablespoon snipped fresh thyme
1 tablespoon white wine vinegar
INSTRUCTIONS
Combine the stock, mushrooms, wild rice, leek, and garlic in a 5-quart Dutch oven or soup pot. Bring to a boil over high heat; reduce heat to medium-low. Cover and simmer for 45 to 50 minutes or until the rice is tender (kernels will start to pop open). Stir in the bell peppers, carrot, and salt. Cover and simmer for 8 minutes more.
Combine the almond flour and chickpea flour in a small bowl; stir in ¼ cup water. Stir the mixture into the soup. Cook, stirring constantly, for 1 to 2 minutes or until thick and bubbly. Stir in up to ½ cup more water to reach the desired consistency. Stir in the thyme and vinegar.